Embarking on the journey of creating your own floral arrangements can be both thrilling and a bit daunting. However, armed with the right knowledge and tools, it swiftly turns into a delightful craft that brings beauty into our daily lives. We understand the joy and satisfaction that comes from crafting something with your own hands, especially when it involves the natural elegance of flowers.
Let’s start by exploring the essential tools every beginner needs to have on hand for floral arrangements. From selecting the correct scissors to understanding the importance of a proper base, knowing these fundamentals will ensure you have a strong foundation. What’s more, grasp the composition of creating your first bouquet. This process is not just about aesthetics; it involves technique and a sprinkle of creativity that we are eager to guide you through.
Choosing flowers can often feel overwhelming due to the plethora of options available. We’ll simplify this process, highlighting how to pair colours and textures effectively to achieve a visually pleasing bouquet. Moreover, maintaining the beauty and longevity of your bouquet is crucial. We’ll share expert tips to ensure your flowers remain vibrant and fresh longer, so you can enjoy your handcrafted bouquet to its fullest.
Essential Tools and Supplies for DIY Floral Arrangements
Embracing the art of DIY floral arrangements starts with equipping yourself with the necessary tools and supplies. To begin, you’ll need a good pair of sharp scissors or floral shears designed specifically for cutting stems cleanly without causing damage, which is crucial for the uptake of water and nutrients. A pair of pruning shears may also be useful for thicker stems or branches.
In addition to cutting tools, having the right base is essential. A variety of vases in different shapes and sizes allows for versatility in design. Floral foam, which helps to support flowers in arrangements and ensures they stay hydrated, is particularly useful for more intricate displays. Floral tape and wire can also be invaluable for securing and structuring flowers and greenery. Lastly, consider a spray bottle for misting your flowers to keep them fresh, along with a clean cloth for wiping any spillages or debris from your workspace.
Step-by-Step Guide to Crafting Your First Bouquet
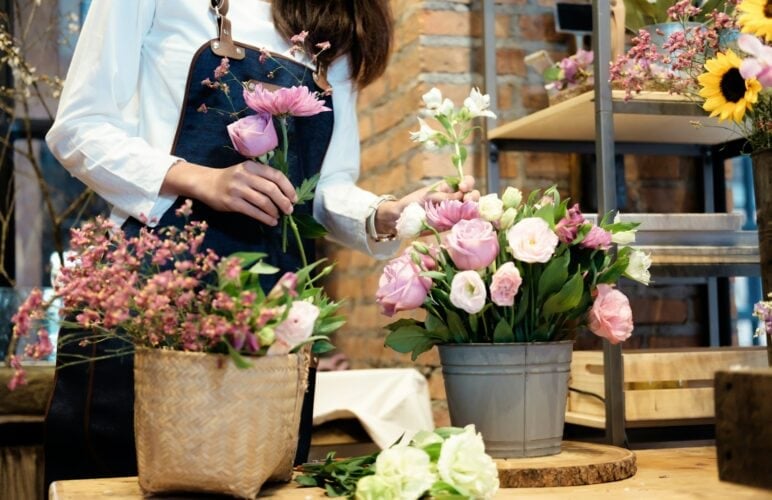
Creating your first bouquet can be as thrilling as it is rewarding. To start, select a mix of main flowers, filler flowers, and greenery. Main flowers will act as the focal point of your bouquet, while fillers will add volume and interest, and greenery provides additional texture and frame.
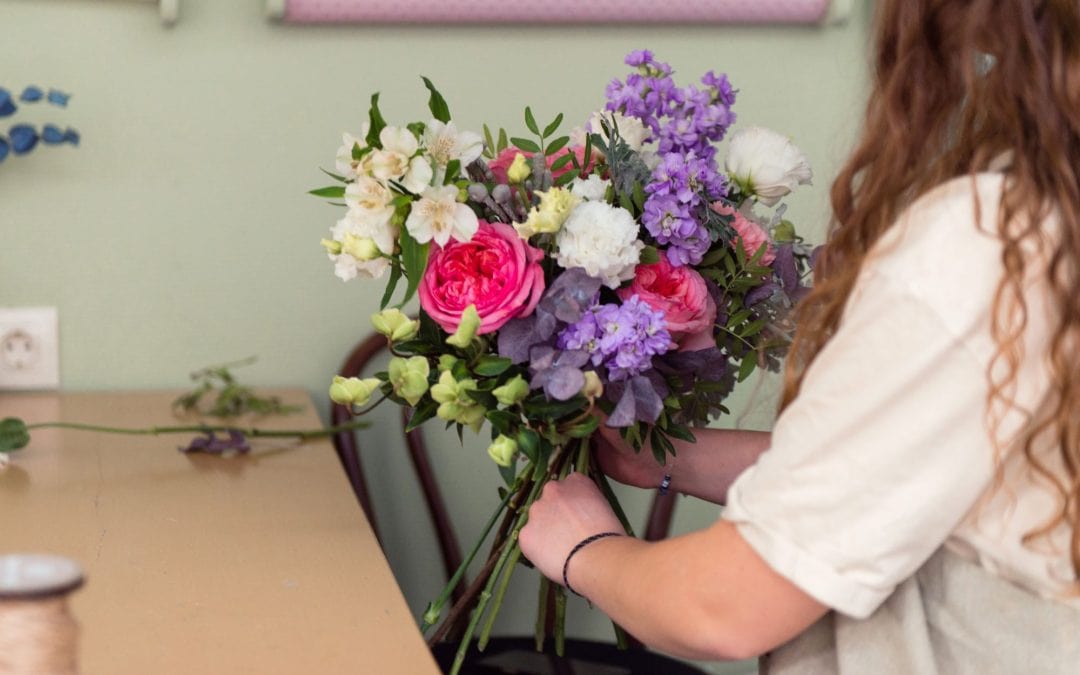
First, prepare your flowers by trimming their stems at an angle, allowing for better water absorption. Begin your arrangement by forming a base with the greenery, this sets the framework for your bouquet. Gradually add your main flowers, turning the bouquet as you go to ensure even placement and a pleasing appearance from all angles. Intersperse filler flowers to add depth and fill any gaps.
Secure the arrangement with floral tape, then trim the stems again if needed so they’re uniform and able to stand neatly in your vase. Finish by wrapping the bouquet with decorative paper or fabric, securing with a pin or tie, and give it a final mist of water to refresh the blooms. Congratulations, you’ve just crafted your first handmade bouquet!
Choosing the Right Flowers: Colours and Textures That Complement
When assembling a bouquet, the selection of flowers based on their colours and textures is crucial to create a harmonious and visually appealing arrangement. We consider the colour palette, ensuring that the chosen hues complement rather than clash with each other. For a soothing and cohesive look, we recommend using analogous colours, which are colours next to each other on the colour wheel like blue, green, and violet. For a more vibrant bouquet, contrasting colours such as yellow and purple can make the arrangement stand out beautifully.
In addition to colour, the texture of flowers adds depth and interest to a bouquet. Combining flowers with different textures such as the smoothness of lilies against the spikiness of sea holly can enhance the tactile quality of the arrangement. It’s also effective to mix glossy leaves with matte foliage to highlight the blooms and create a fuller, more varied presentation.
Caring for Your Bouquet: Tips to Keep Flowers Fresh Longer
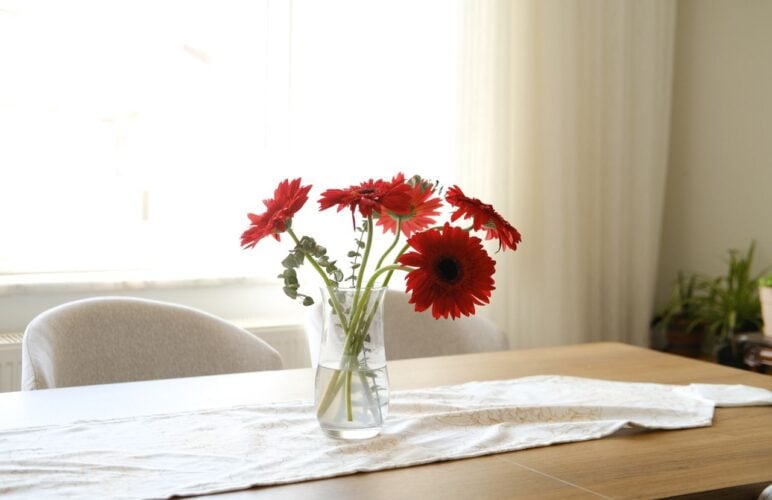
Once you have created your bouquet, ensuring it stays fresh and vibrant for as long as possible is the next important step. Start by choosing a clean vase and filling it with fresh water mixed with a flower food packet, which provides the necessary nutrients and antibacterial properties to help extend the blooms’ lives. Every two days, be sure to change the water, rinse the vase, and re-cut the stems at an angle to prevent bacterial growth and ensure optimal water absorption.
Keep the bouquet away from direct sunlight, drafts, and heat sources, all of which can speed up the dehydration process and cause the flowers to wilt prematurely. If possible, place the bouquet in a cooler part of the house during the night to help preserve its freshness. By following these simple care tips, your floral arrangement can remain vibrant and beautiful for a longer period, allowing you to enjoy the natural beauty and fragrance of your handcrafted bouquet to the fullest.
Conclusion
Creating DIY floral arrangements is an enriching and enjoyable experience that allows you to express creativity while bringing the natural beauty of flowers into your home. By mastering the selection of the right tools, learning the steps of bouquet creation, choosing the best flowers for aesthetics, and maintaining their freshness, you become not just a flower enthusiast, but an adept floral arranger.
Whether you are looking to craft a stunning bouquet for a special occasion or simply want to enjoy the art of floral arrangement as a hobby, Welch is here to provide you with high-quality Nottingham flowers and expert advice. Explore our range of fresh, vibrant flowers at Welch the Florist and start your journey into the wonderful world of floral creativity today!